Initial Installation
Welcome to the initial installation documentation for the email sending feature on the Pulsefit.ai platform. Follow this step-by-step guide to properly set up your domain and start sending verified emails.
Prerequisites
- Administrator access to your domain.
- Access to the Pulsefit.ai platform settings.
- Ability to modify the DNS fields of your domain (access to your DNS manager).
Installation Process
Access Quick Integration
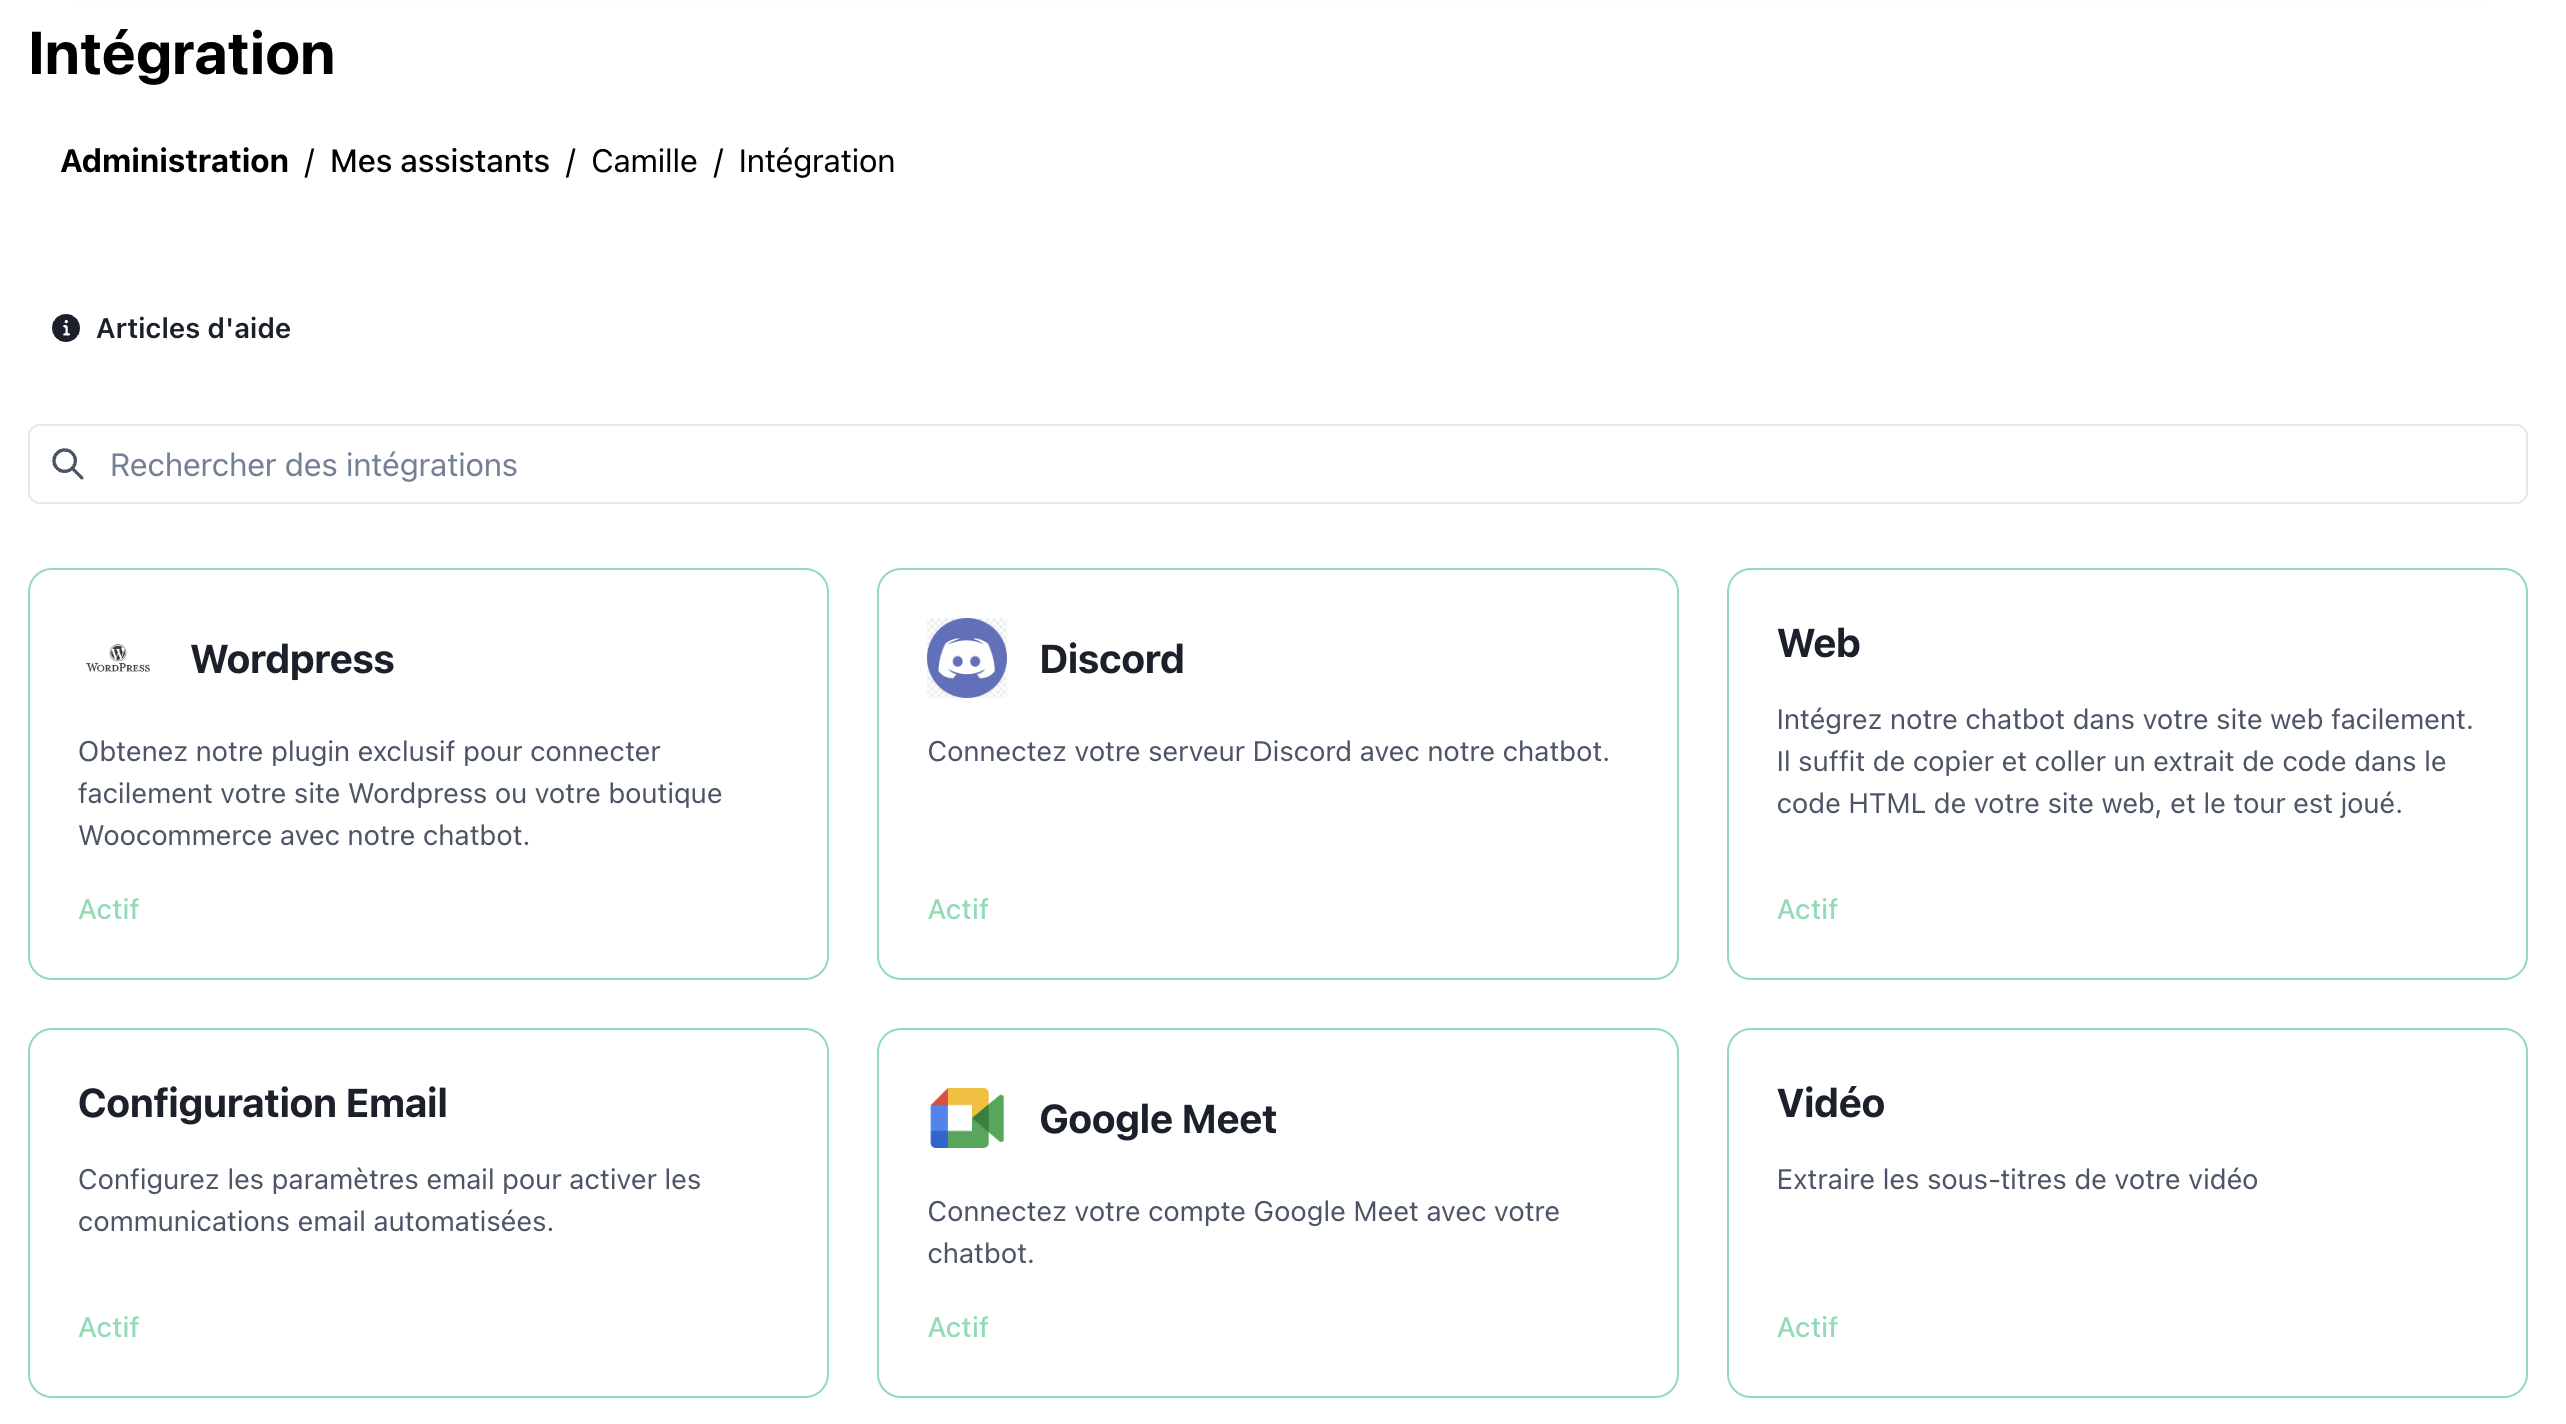
- Log in to your Pulsefit.ai account.
- Go to Settings > Quick Integration > Email.
- Click on the "Set up a domain" button.
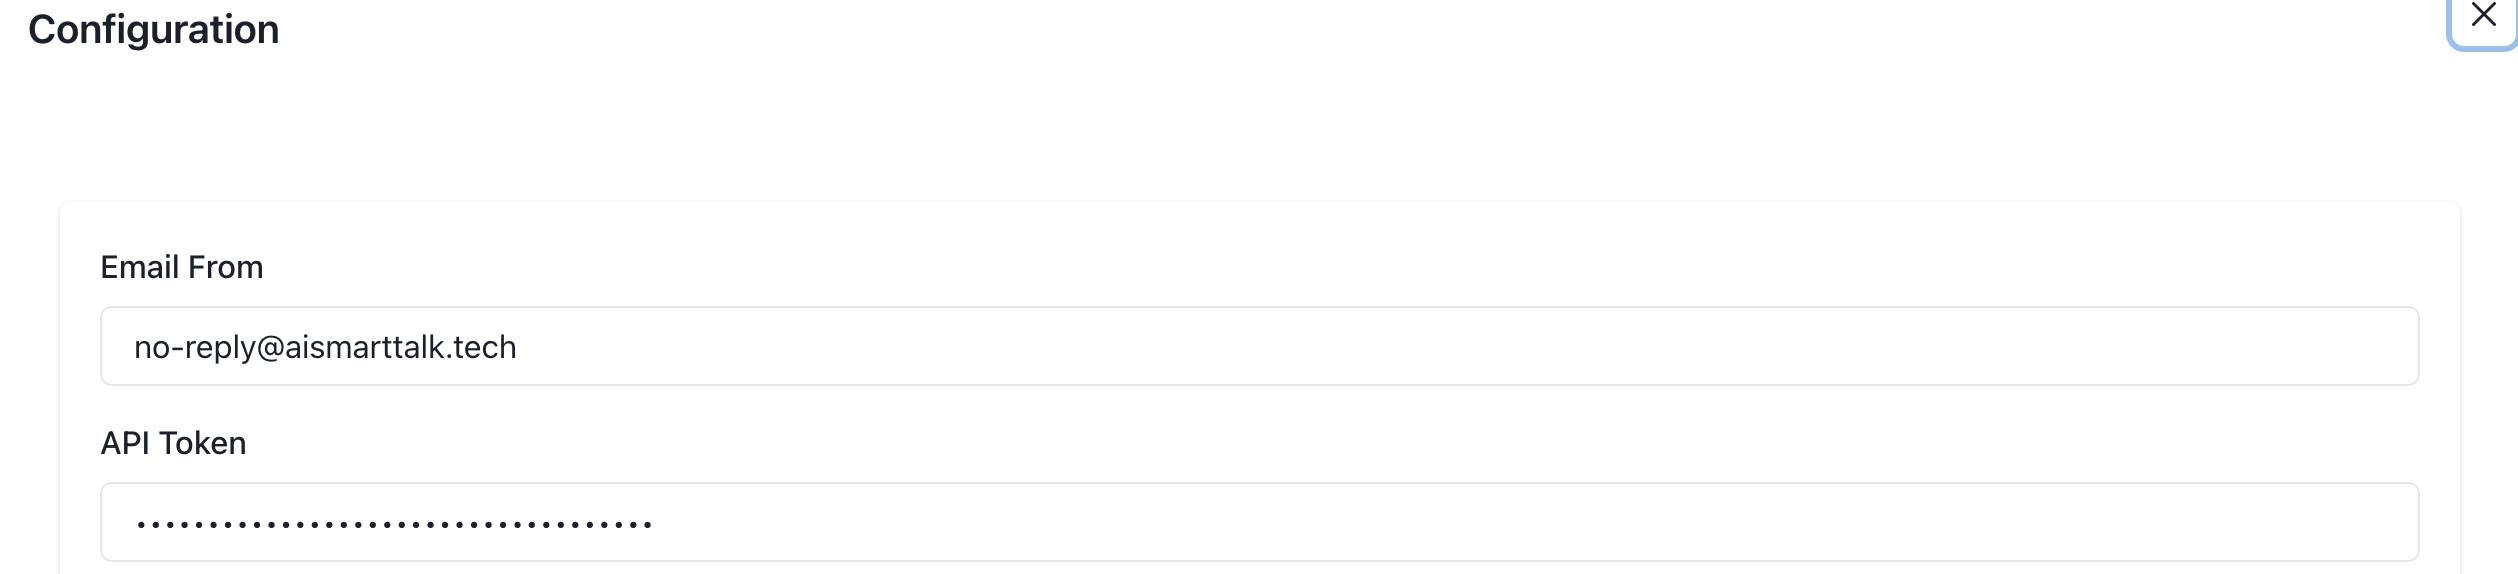
Provide Domain Information
- Enter the domain name you wish to use for sending emails.
- Click "Next" to generate the required DNS fields.
Add DNS Fields
-
Access the DNS management console of your domain provider.
-
Add the following fields provided by Pulsefit.ai:
- TXT Field: Used for domain validation.
- SPF Field: Ensures the authenticity of sent emails.
- DKIM Field: Protects against spoofing.
- DMARC Field: Provides reports on email activity.
Example DNS Entry:
Name: @
Type: TXT
Value: "v=spf1 include:_spf.mysmarttalk.com ~all" -
Save the changes in your DNS manager.
Verify the Configuration
- Return to the Pulsefit.ai page.
- Click on "Verify".
- If all fields are correctly configured, you will see a confirmation message indicating that your domain is ready to be used.
Mermaid Diagram
Expected Outcome
Once the configuration is complete:
- Emails sent from your domain will appear as verified.
- You can start using the advanced email sending features of the platform.